The Bottom Line
Pros
- + 2.5Gbe WAN
- + 2.5Gbe LAN
- + Wi-Fi 7
- + Price
Cons
- - None
Should you buy it?
AvoidConsiderShortlistBuy
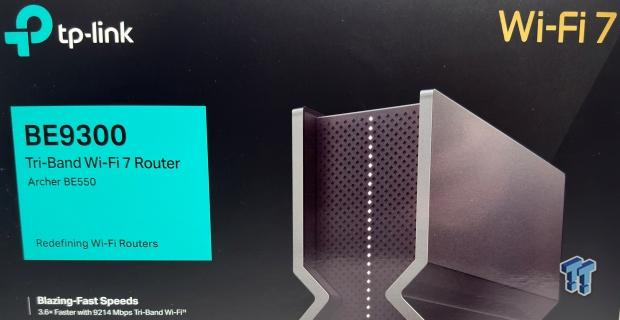
With the move to Wi-Fi 7, the market has dried up quickly, as we have yet to have any vendor sample any of their new Wi-Fi 7 routers. That said, it was time for a router upgrade for my parents' home, so after browsing the web, we had a good idea of what people were buying and what was good on the market. So, I picked up an Archer BE550 and decided to give it a go on the test bench before we deployed the unit.
The Archer BE550 is a tri-band solution powered by the MediaTek MT7988AV SoC, which operates at 1.8GHz and offers four cores. The CPU is paired with 1GB of memory and 128M of flash for the OS firmware. MediaTek also has the Wi-Fi radios covered, the BE550 giving us the MT7996 and two MT7977 chipsets that handle all three bands. With the 2.4GHz band, this allows for 574 Mbps, and the 5GHz band gets a sizable bump to 2880 Mbps, and thanks to 320MHz channels, the 6GHz band pushes upwards of 5760 Mbps.
Additional connectivity is available for USB storage, with a single USB 3.2 port on the rear of the unit. Added technology includes many Wi-Fi 7 features such as MLO operation, 320MHz channels, 4K-QAM, and Multi-Rus.
The pricing of the TPL-ink Archer BE550 comes in at $299 retail.
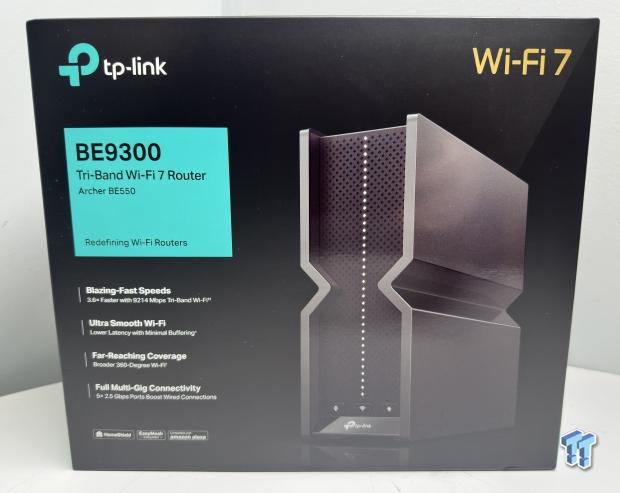
Of course, we got factory packaging because I purchased this unit from Amazon. The packaging features the router along the left side and TP-Link branding, including an image of the router.
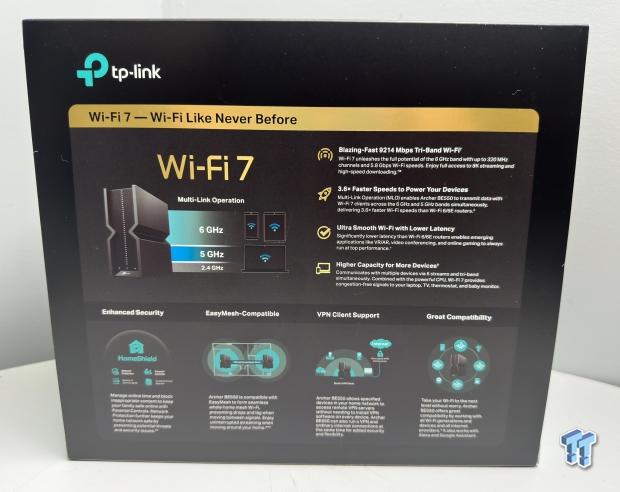
The rear of the packaging highlights Wi-Fi 7 features along with additional features that are nearly mainstream.
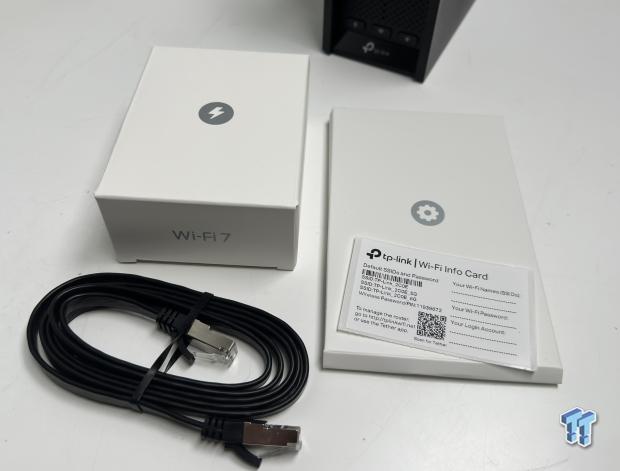
We have the power adapter still boxed, reading materials, and an ethernet cable included with the Archer.
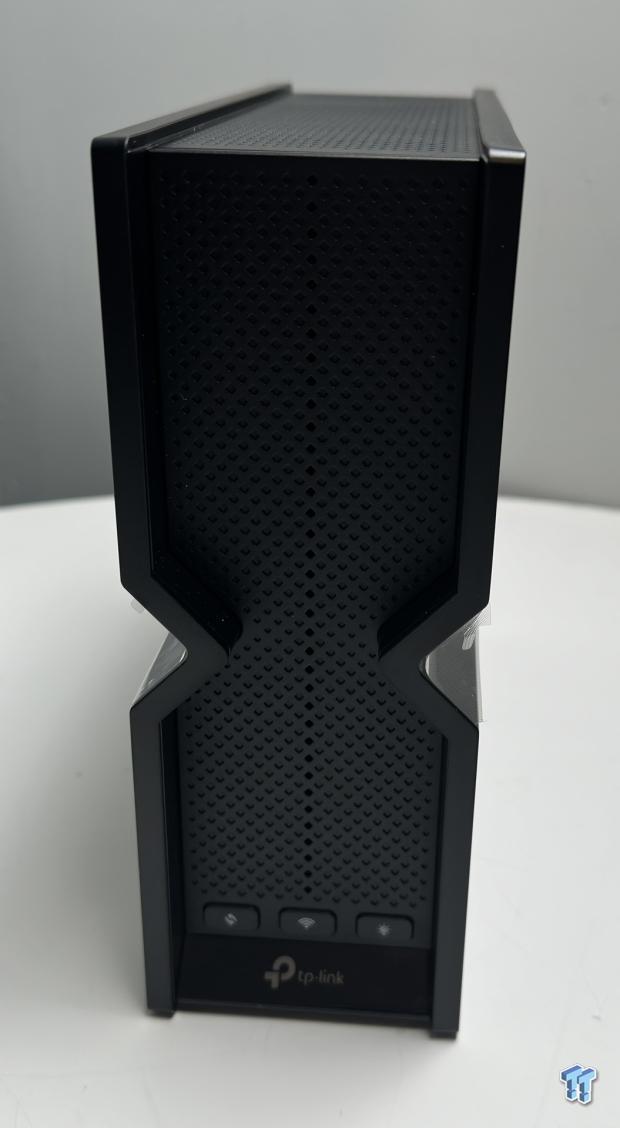
The Archer BE550 has an hourglass shape, and along the bottom are the WPS button, Wi-Fi button, and LED button.
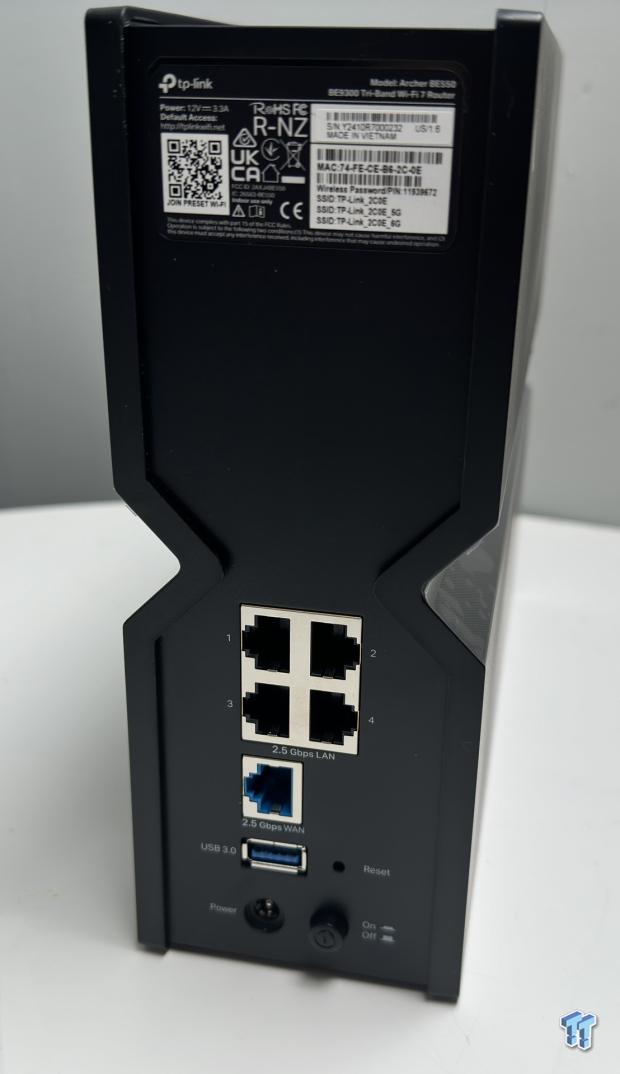
The rear of the BE550 offers regulatory info at the top, while below, we have four 2.5Gbe LAN ports, a single 2.5Gbe WAN port, and a USB 3.2 port for adding storage to the unit.
TP-Link Tether Setup
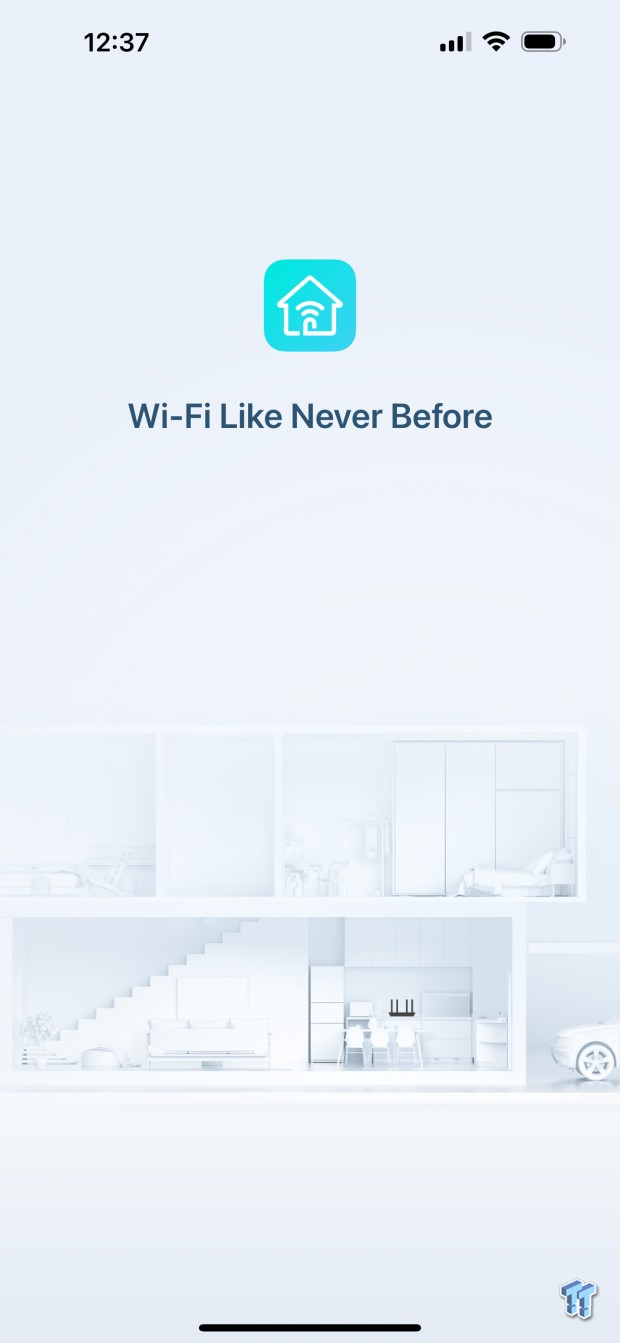
I have set up many TP-Link routers, though this may be the first time I have used the Tether app, as seen above.
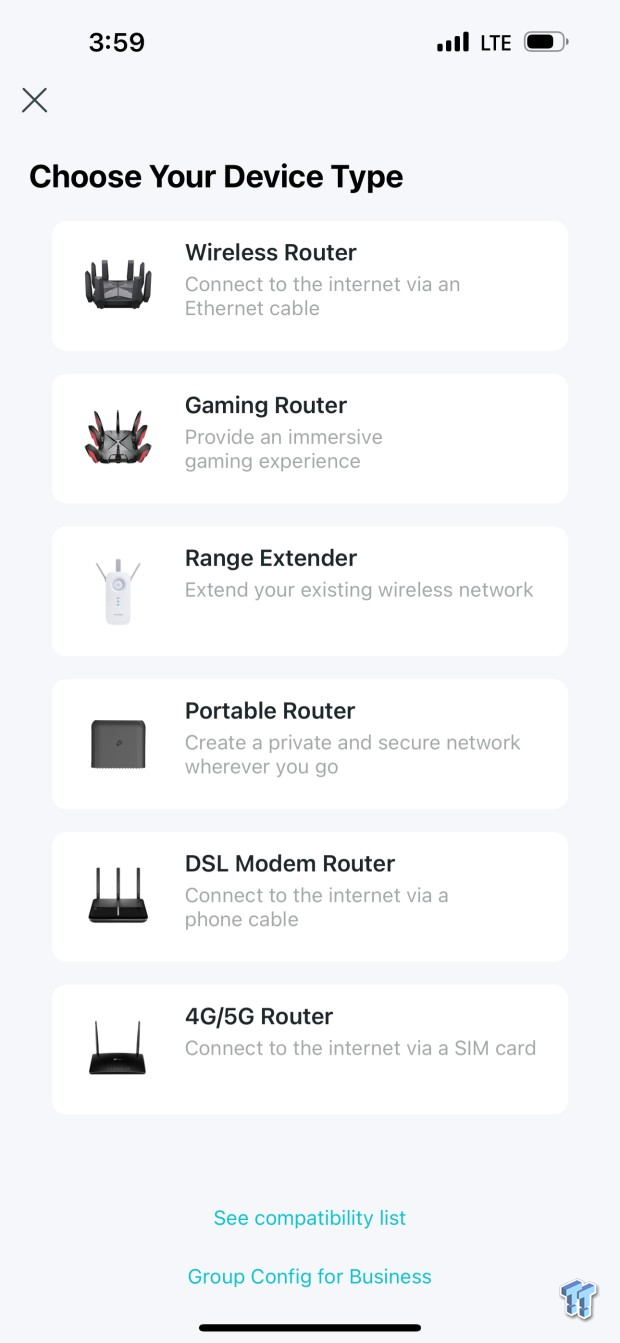
Continuing setup, we first need to choose what we are setting up.
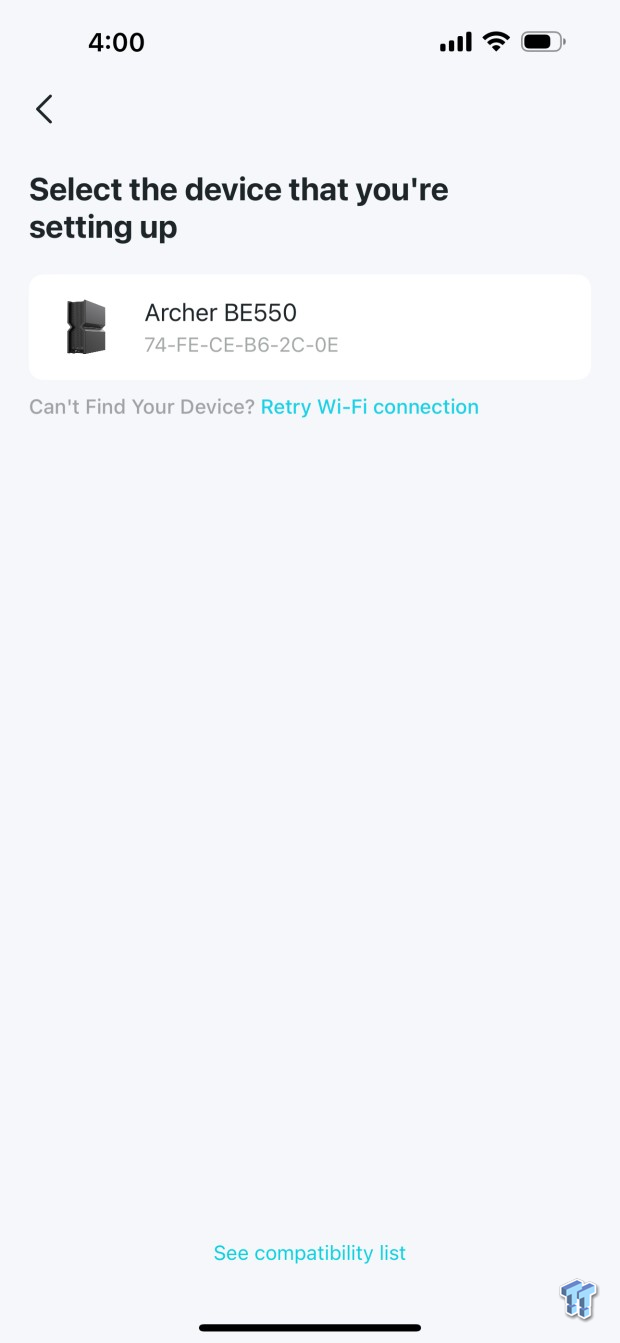
In this next step, our router was automatically detected, as seen above. We then selected it to move on with the setup.
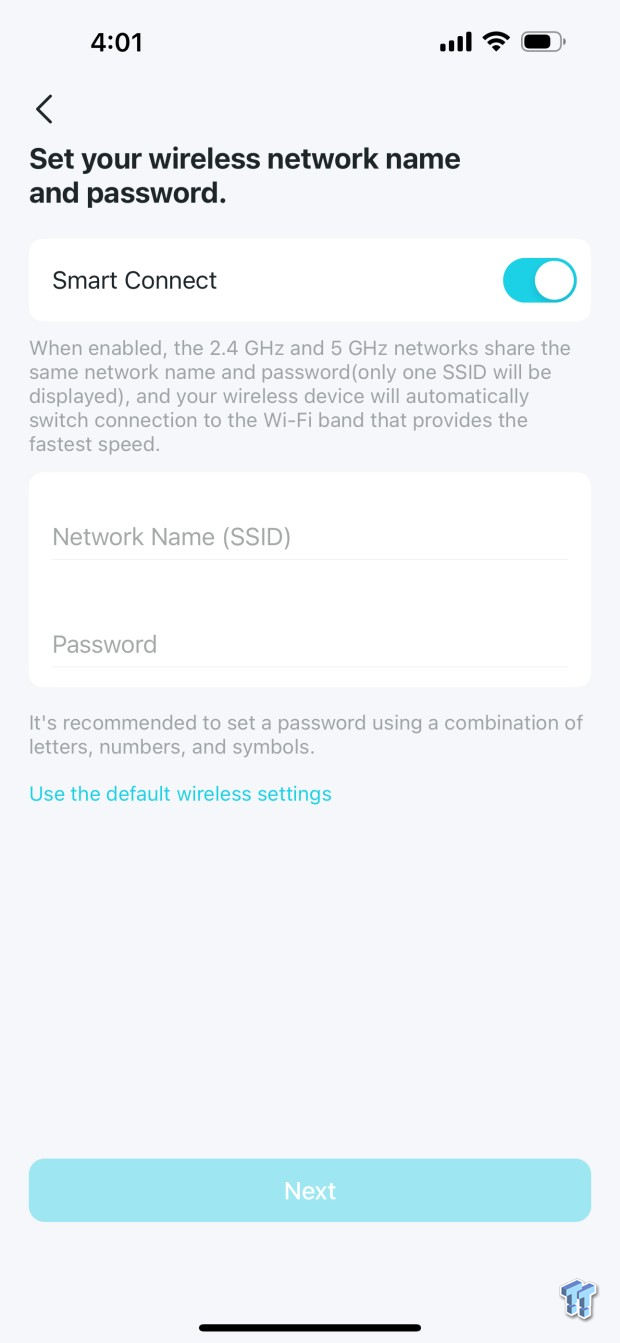
Wireless SSID setup is the next step; you can choose to use smart connect here to name each radio the same, or you can separate to set up separate SSIDs.
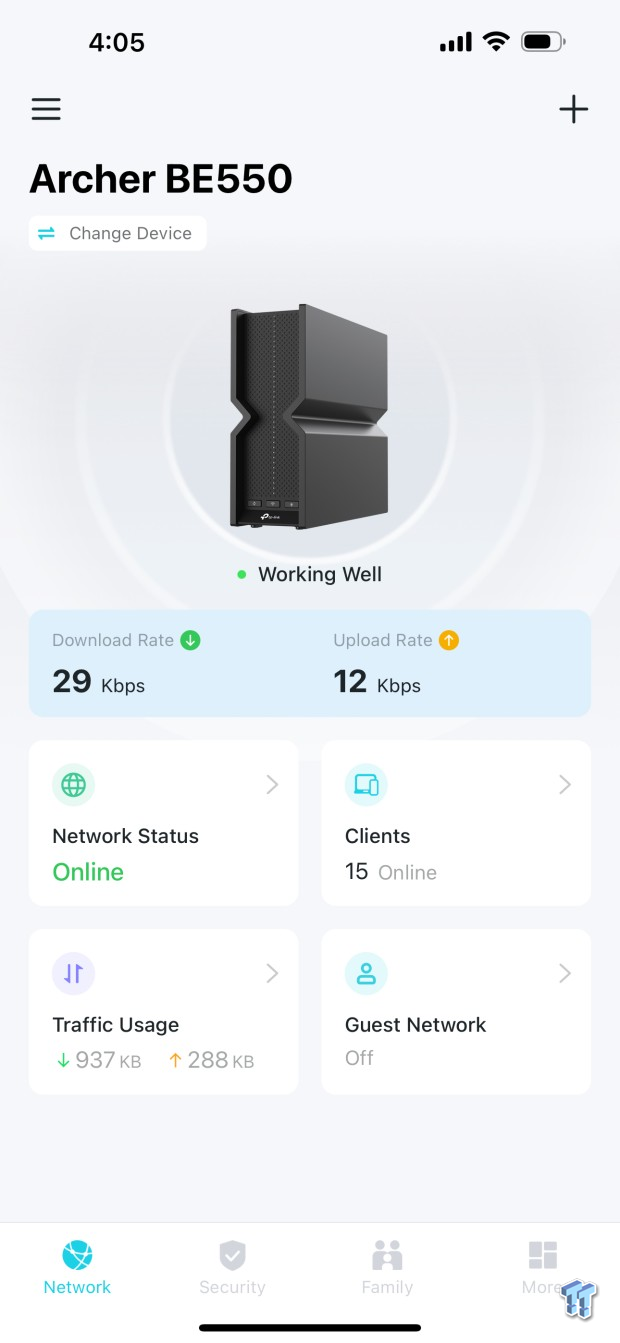
With the setup complete, we have the dashboard seen above. This includes network status, clients, and traffic widgets along the bottom.
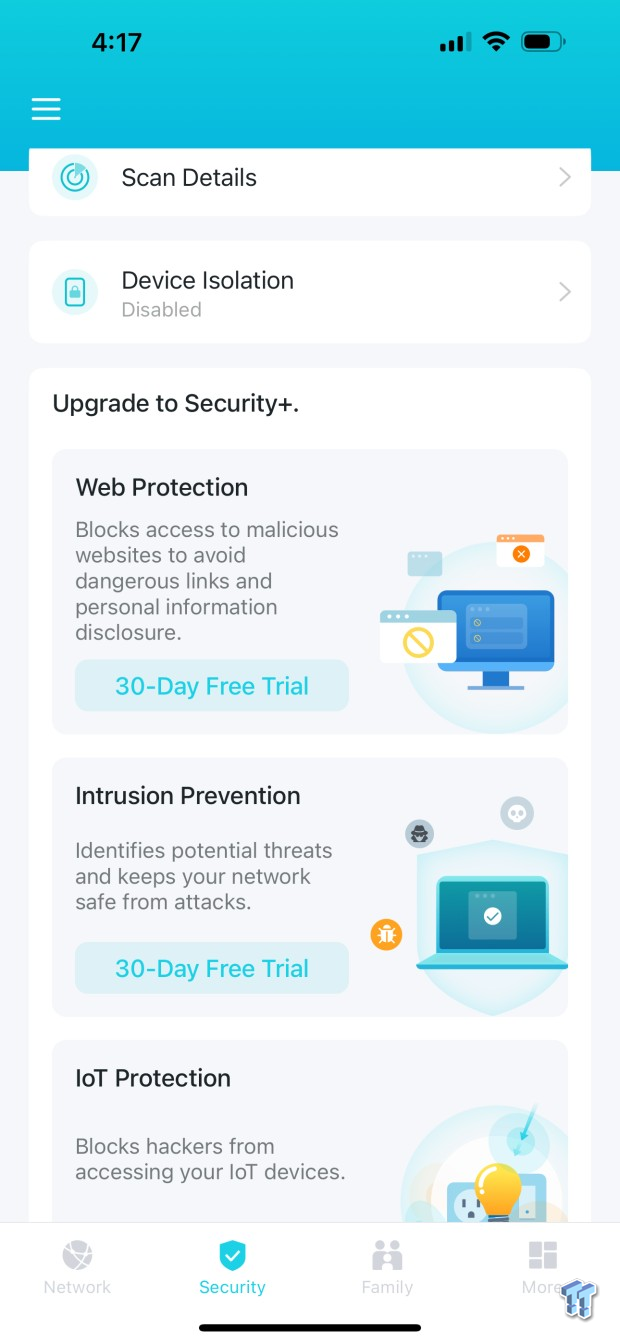
When we run the menus along the bottom of the app, we land first in the security menu, which gives us tips for securing our Archer.

Next up, we have family parental controls.
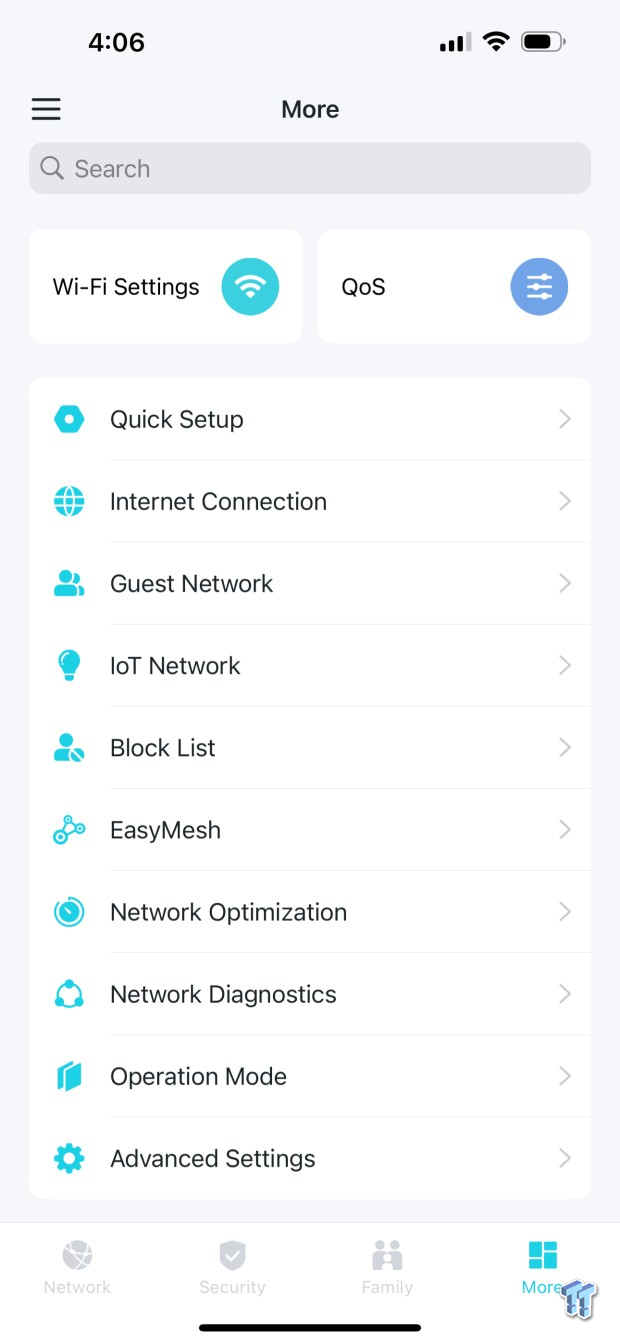
The "more" menu item gives us all the configurable items for the Archer BE550.
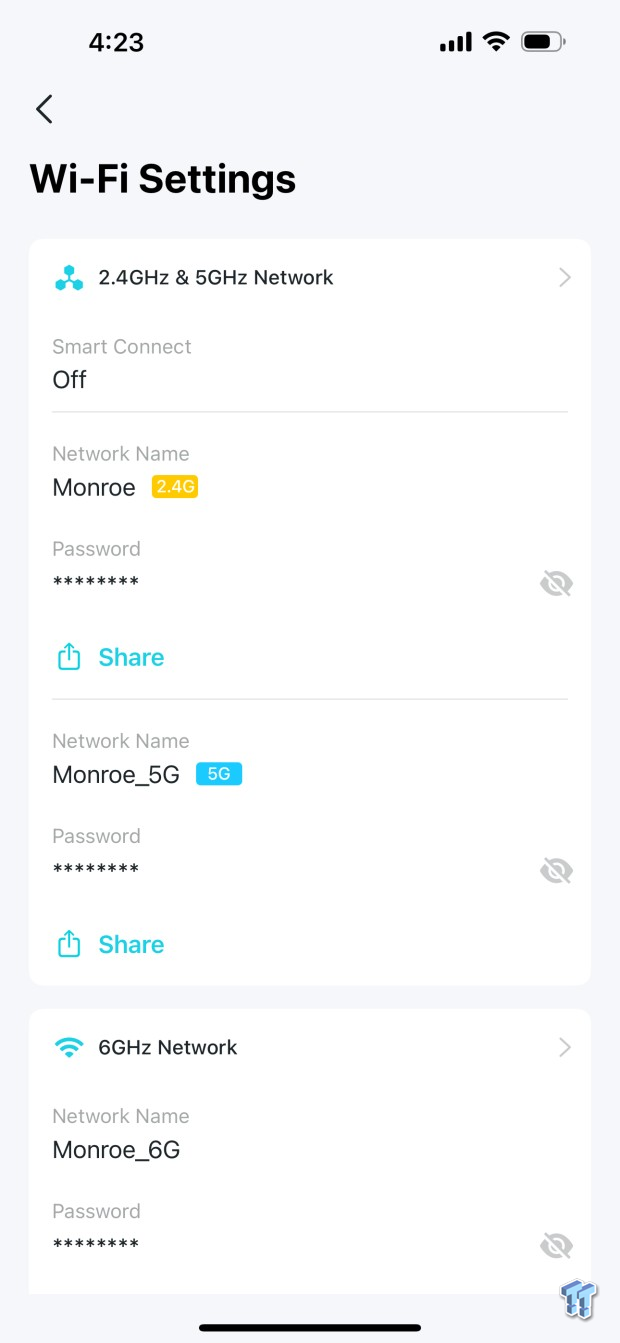
Diving through the settings, we have Wi-Fi settings, which allow you to configure your SSIDs and password and set MLO at the bottom of the page.
1st Test System Wi-Fi
- System: Alienware M16 R2
- Wi-Fi: Intel Wireless Wi-Fi 7 BE200
- OS: Microsoft Windows 11 Pro (buy from Amazon)
2nd Test System LAN
- System: Lenovo Legion 7
- LAN: Marvell AQC113 10Gbe Thunderbolt Adapter
- OS: Microsoft Windows 11 Pro (buy from Amazon)
Wi-Fi Testing and Final Thoughts
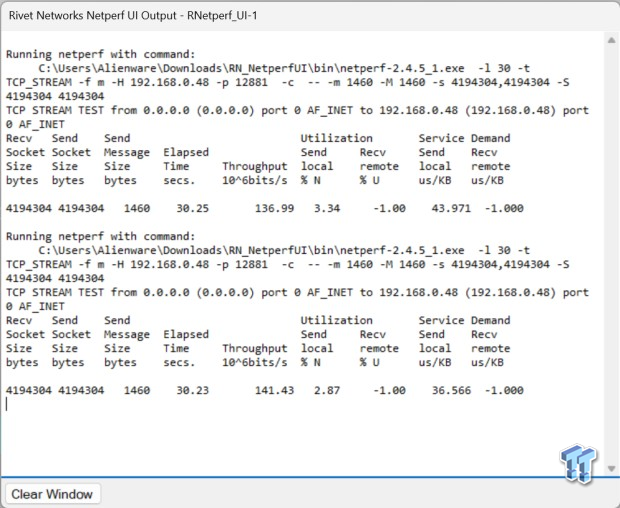
Testing 2.4GHz, we picked up a touch over 140 Mbps, which is better than we have seen in the past.
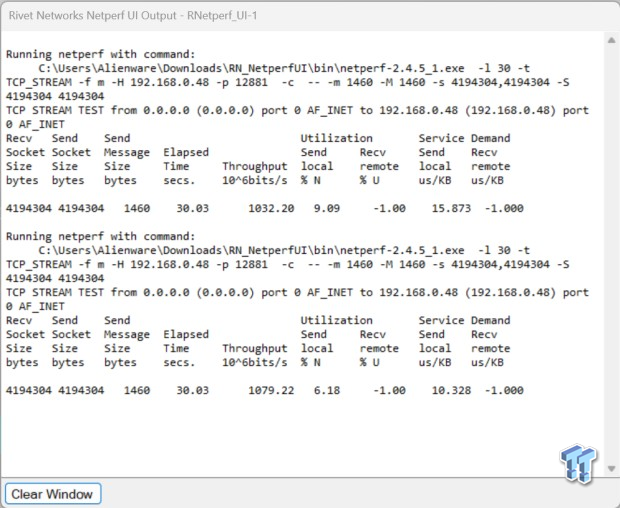
5GHz was quite a bit better, scoring 1032 Mbps initially, then ramping that up further to 1079 Mbps.
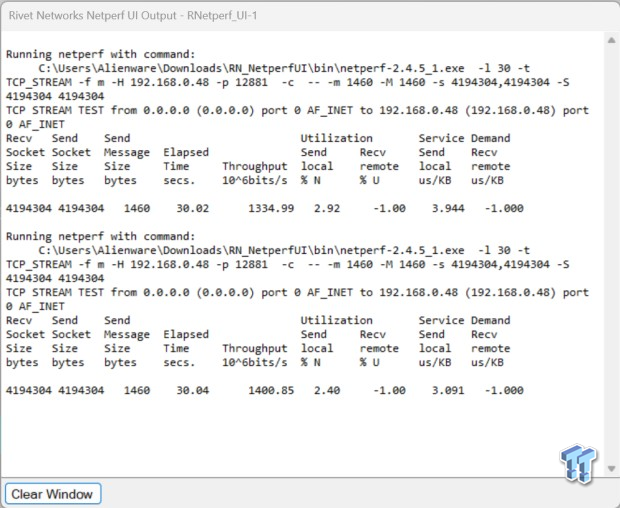
6GHz was the best yet. We picked up 1334 Mbps initially with the Archer and our Alienware M16R2. After tweaking the settings a bit more, we got more performance, reaching 1400 Mbps.
Out of the box, the setup of the Archer BE550 is as painless as it gets. TP-Link offers their "Tether" app to help users run through their router's setup with a "wizard" type configuration. Running through setup, we had three major steps: choosing our router, scanning our network, and setting up our SSID before we were up and running and on the dashboard. This takes just minutes to complete, and you can start connecting your devices with a reboot of your modem.
The Tether app is quite good overall. It offers all of the basic features we expect, including the ability to set and manage parental controls and Wi-Fi SSIDs. It can also set up HomeShield for additional network security, including intrusion prevention and IoT protection, which pushes all your smart devices to their own network.
The connectivity on this router is quite amazing. It includes full-on 2.5Gbe ports that give us four LANs and one WAN, which was a major reason I chose this unit when upgrading, especially for its price point. As noted in the introduction, the Archer BE550 is currently retailing for $299, though we were able to pick it up even cheaper from Amazon during a sale.
Testing this unit, we picked up some solid performance testing ~15 ft from the router. 2.4GHz gave us a 141 Mbps peak, while 5GHz gave us a touch over legit gigabit speeds, coming in at 1079 Mbps. 6GHz was the best yet, as it should be. I picked up 1400 Mbps quite easily. With all of the mainstream testing out of the way, I decided to set up an MLO network, but that's about as far as it went. Most of us will have to wait for Windows 11 24H2 to support MLO in the OS, as it's currently in beta. With that, the MLO network only produced 450-500 Mbps in testing.

